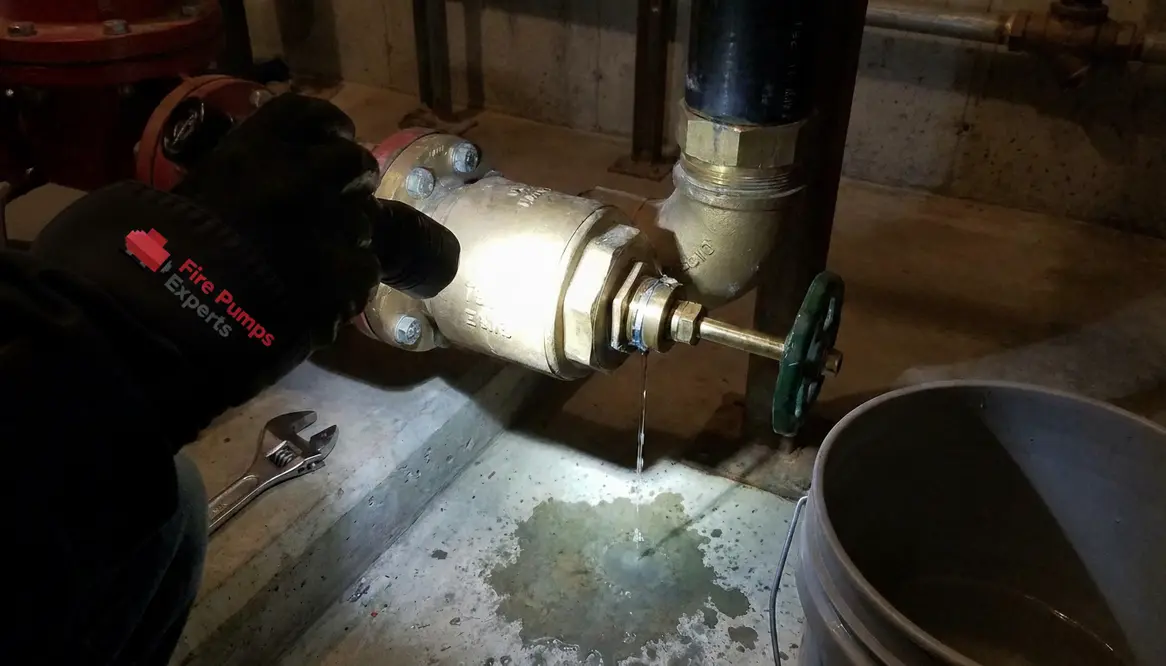
Fire Pump Test Header Valve Leaks What Technicians Check
When I hear about fire pump test header leaking after test, I do not treat it like a small drip with a big attitude. In a commercial or industrial building, that leak can point to wear, bad seals, or a valve that simply does not want to do its job anymore. And yes, the water will always choose the most annoying place to show up, usually right after testing, when everyone is trying to look calm. In major properties, that means technicians need to move fast, check the right parts, and protect system readiness without turning the room into a soap opera.
Below, I walk through what I check, why I check it, and how I keep the system tight, safe, and ready for the next test.
What I inspect first after a test header leak
First, I look at the valve body itself. If I see water around the stem, bonnet, or drain point, I narrow the issue fast. Then I check whether the valve fully closed after the test. Sometimes the handle feels shut, but the internal parts still leave a gap. That little gap can act like a picky customer at closing time. It stays open just enough to cause trouble.
I also check for dirt, scale, or corrosion on the seat. Even a thin layer of buildup can stop the valve from sealing. Because fire pump systems serve commercial and industrial properties, I never assume the leak is minor just because the drip looks small. Small leaks often grow into bigger service calls, and those never come with better timing.
What technicians check when fire pump test header valves leak after testing
I move next to the valve parts that do the real sealing work. Here is the short version of what I review:
Dual checks I make right away
- Valve seat condition: I inspect for nicks, wear, and debris.
- Stem packing: I look for looseness or damaged packing that lets water escape.
- Gaskets and seals: I check for flattening, cracks, or poor fit.
- Operating handle or actuator: I confirm it closes fully and stays in position.
- Pipe stress: I look for strain that may twist the valve body.
- Residual pressure: I verify the leak is not just trapped pressure from the test.
That last item matters more than people think. Sometimes the system holds pressure after the test, and the valve seems to leak because the line did not fully normalize. So, I confirm pressure readings before I call the valve guilty. Fair trial, no drama.
Why leaks happen after the test
Leaks often come from one of three causes: wear, poor closure, or pressure change. Over time, valve seats wear down. Also, a valve can close almost all the way and still let water sneak past. That is the mechanical version of “I’m fine” when someone is clearly not fine.
In many cases, the test itself exposes a hidden issue. The fire pump runs, pressure changes, and the weak point shows up. That is useful. It means the system is speaking before an emergency makes the announcement for it. I prefer that. Loudly.
For larger facilities, I also review whether the test header and connected piping match current system needs. If the system has been modified, or if an older building now has different demand, the valve may leak because the parts no longer fit the operating conditions as well as they should.
How I confirm the leak source
After the first visual check, I use a simple step by step process. I dry the area, run a careful recheck, and watch exactly where the water returns. If the drip appears at the stem, I focus on packing. If it shows at the seat or outlet, I look at the internal shutoff surface. If water spreads from the body, I inspect for cracks or failed joints.
I also check the test connection and nearby fittings. Sometimes the valve gets blamed for a leak that starts one joint over. That is why I trace the path of the water, not just the puddle. Water loves a good disguise. It has had years of practice.
What I do to fix it and prevent it next time
Once I find the cause, I choose the fix based on condition and risk. Tightening packing may solve a minor stem leak. Replacing a damaged gasket may stop a seat leak. However, if the valve shows heavy wear, corrosion, or repeated failure, I recommend replacement instead of patchwork. In a commercial or industrial fire protection system, “good enough for now” is not a business plan.
I also verify the full fire pump setup after the repair. That includes the pump controls, nearby valves, and the test header path. When needed, I compare the setup with guidance from trusted fire protection sources such as Los Angeles fire pump service resources and related fire pump inspection guidance for larger properties. For integrated systems, I also keep an eye on electrical support from https://kordelectric.com/ and sprinkler coordination through https://kordfire.com.au/australian-fire-sprinkler-services/. That cross check helps me keep the whole system in line, not just one noisy valve.
FAQ
Conclusion
If you notice a fire pump test header leak after testing, I recommend treating it like a warning, not a nuisance. I inspect the valve, confirm the pressure, trace the leak source, and repair the real issue before the next test day arrives. For commercial and industrial buildings, that discipline protects uptime, safety, and confidence. If you manage a major property, schedule a professional check now and keep the system ready for the moment it matters most.