Spot Cavitation in Fire Pump Tests Listen Watch Read
How I Spot Cavitation During a Fire Pump Test
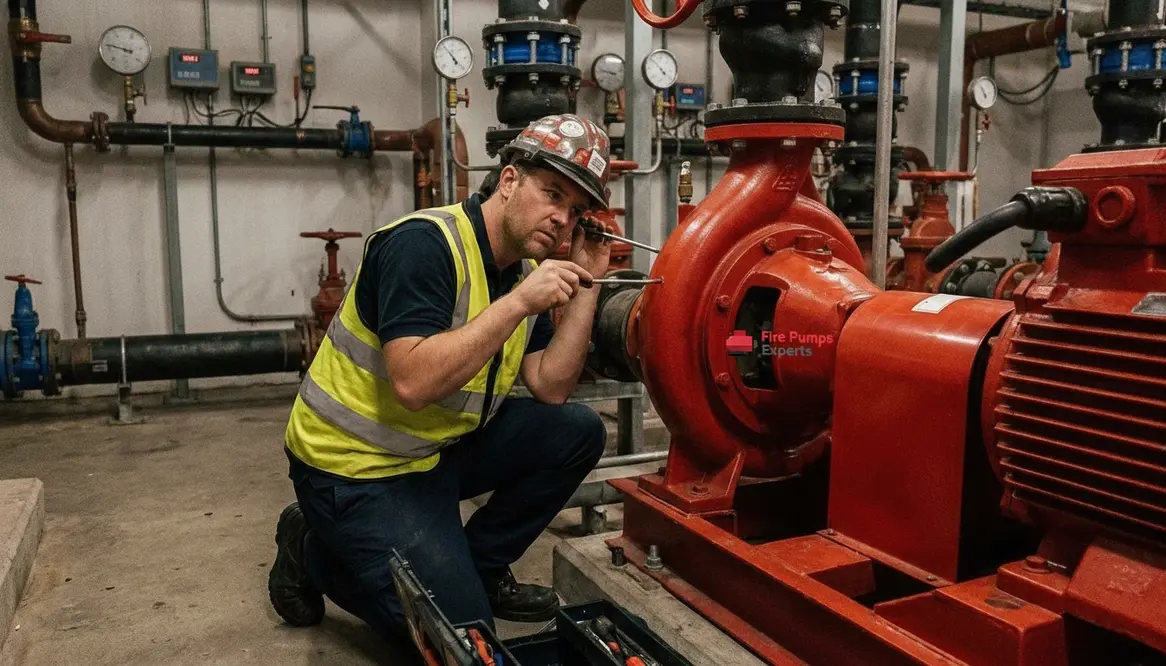
When I explain how to identify cavitation during testing, I keep it simple: I listen, I watch, and I read the pump like a seasoned mechanic reading a tired engine. Cavitation shows up when the pump does not get enough water at the inlet, and then the pressure drops where it should stay steady. In a commercial or industrial fire protection system, that is not a small hiccup. It can mean weak performance right when the system must deliver. So, during a fire pump test, I look for the signs early, before the pump starts sounding like it has swallowed a handful of gravel.
For major properties and large facilities, this matters even more. A fire pump should support the system with confidence, not drama. And yes, pumps do seem to enjoy drama when the inlet conditions are poor.
What I Look For First During A Fire Pump Test
I start with the basics because cavitation loves to hide in plain sight. First, I check the suction pressure, discharge pressure, and flow. Then I compare those readings to the pump curve and the test standard. If the suction pressure falls too low, I know the pump may not be receiving enough water to stay stable.
Next, I listen to the pump casing and discharge line. Cavitation often creates a sharp crackling or rattling sound. It can sound a bit like marbles rolling inside a metal box. That sound matters. Also, I watch for sudden swings in pressure or flow. A healthy fire pump should move with purpose. If it bounces around, I take that as a warning.
And I never ignore vibration. When cavitation starts, the pump can shake more than usual. That extra movement may seem minor at first, but it often tells the story before the gauges do.
How To Identify Fire Pump Cavitation During Testing
When I focus on how to identify fire pump cavitation during testing, I look for three things at the same time: sound, pressure, and performance. That combination gives me a clearer picture than any single reading ever could.
Here is the pattern I look for:
- The pump makes a rough or gravel like sound
- The suction pressure drops below what the system needs
- The discharge pressure becomes unstable
- The flow fails to rise as expected
- The pump vibrates harder than normal
Sometimes the pump still runs, which is why cavitation can fool people. It may look alive and well, but inside, the impeller is fighting vapor bubbles instead of moving water. That is where the damage begins. Over time, cavitation can wear down the impeller, reduce output, and shorten the life of the pump. In a commercial building, that kind of hidden damage is the sort of surprise nobody wants on their quarterly report.
What The Data Means In Real Time
During the test, I compare what I hear with what I see on the instruments. If the pump curve says performance should climb smoothly and instead the readings jump around, I suspect cavitation. Likewise, if the discharge pressure drops when the flow increases, I slow down and inspect the suction side more closely. This is the heart of how to identify fire pump cavitation during testing in a way that actually holds up under scrutiny.
Also, I look at the inlet conditions. Long suction piping, closed valves, clogged strainers, or low water supply can all create the right storm for cavitation. So, I do not just blame the pump. I check the whole path that brings water to it. After all, even a strong pump cannot do superhero work if the supply line acts like a bottleneck. Batman had gadgets. A fire pump has physics.
Common Causes I Check In Commercial Systems
I always dig into the cause, because fixing the symptom alone only buys time. In commercial and industrial fire protection systems, cavitation usually starts with one or more of these issues:
- Not enough suction pressure
- High water demand during the test
- Obstructed suction piping
- Air trapped in the line
- A poorly sized or weak water supply
- Excessive friction loss in the piping
If I find one of these, I treat it as the root of the problem, not just a side note. Then I verify that the pump installation matches the building’s fire protection needs. For larger properties, I also review whether related electrical and control systems support stable operation. That is where resources like the commercial electrical services team can play a valuable role in keeping the full system dependable.
Why I Inspect The Whole Fire Protection System
I never treat a fire pump test like a solo act. The pump works inside a larger system, and every part affects the result. If the supply source is weak, the test results will tell on it. If the suction path restricts flow, the pump will show stress. If controls or power issues affect operation, I want to know that too.
That is also why I pay attention to the broader fire protection setup for commercial facilities and major properties. When needed, I review related service options like fire pump service for Los Angeles commercial properties or fire sprinkler support for large facilities. The goal stays the same: keep the system ready, stable, and able to perform when the alarm sounds. This reinforces how to identify fire pump cavitation during testing by focusing on the full chain, not just the pump body.
Quick check rhythm for how to identify fire pump cavitation during testing: listen for gravel-crackle tones, watch for pressure instability, then confirm whether flow and performance rise like they should.
FAQ
Conclusion
If I catch cavitation early, I can protect the pump, the system, and the building it serves. That is why I take every fire pump test seriously and read the signs with care. For commercial and industrial facilities, the margin for error stays small. So, if your fire pump test shows strange noise, shaky readings, or weak flow, I recommend acting fast. A careful inspection now can prevent a costly failure later, and that is a smart move every time. When you are practicing how to identify fire pump cavitation during testing, the takeaway is simple: sound, pressure, and performance tell the story before things get expensive.